Getting started
From importing the collector VM to a secured, monitored network with alerts, in about 30 minutes.
6 min read
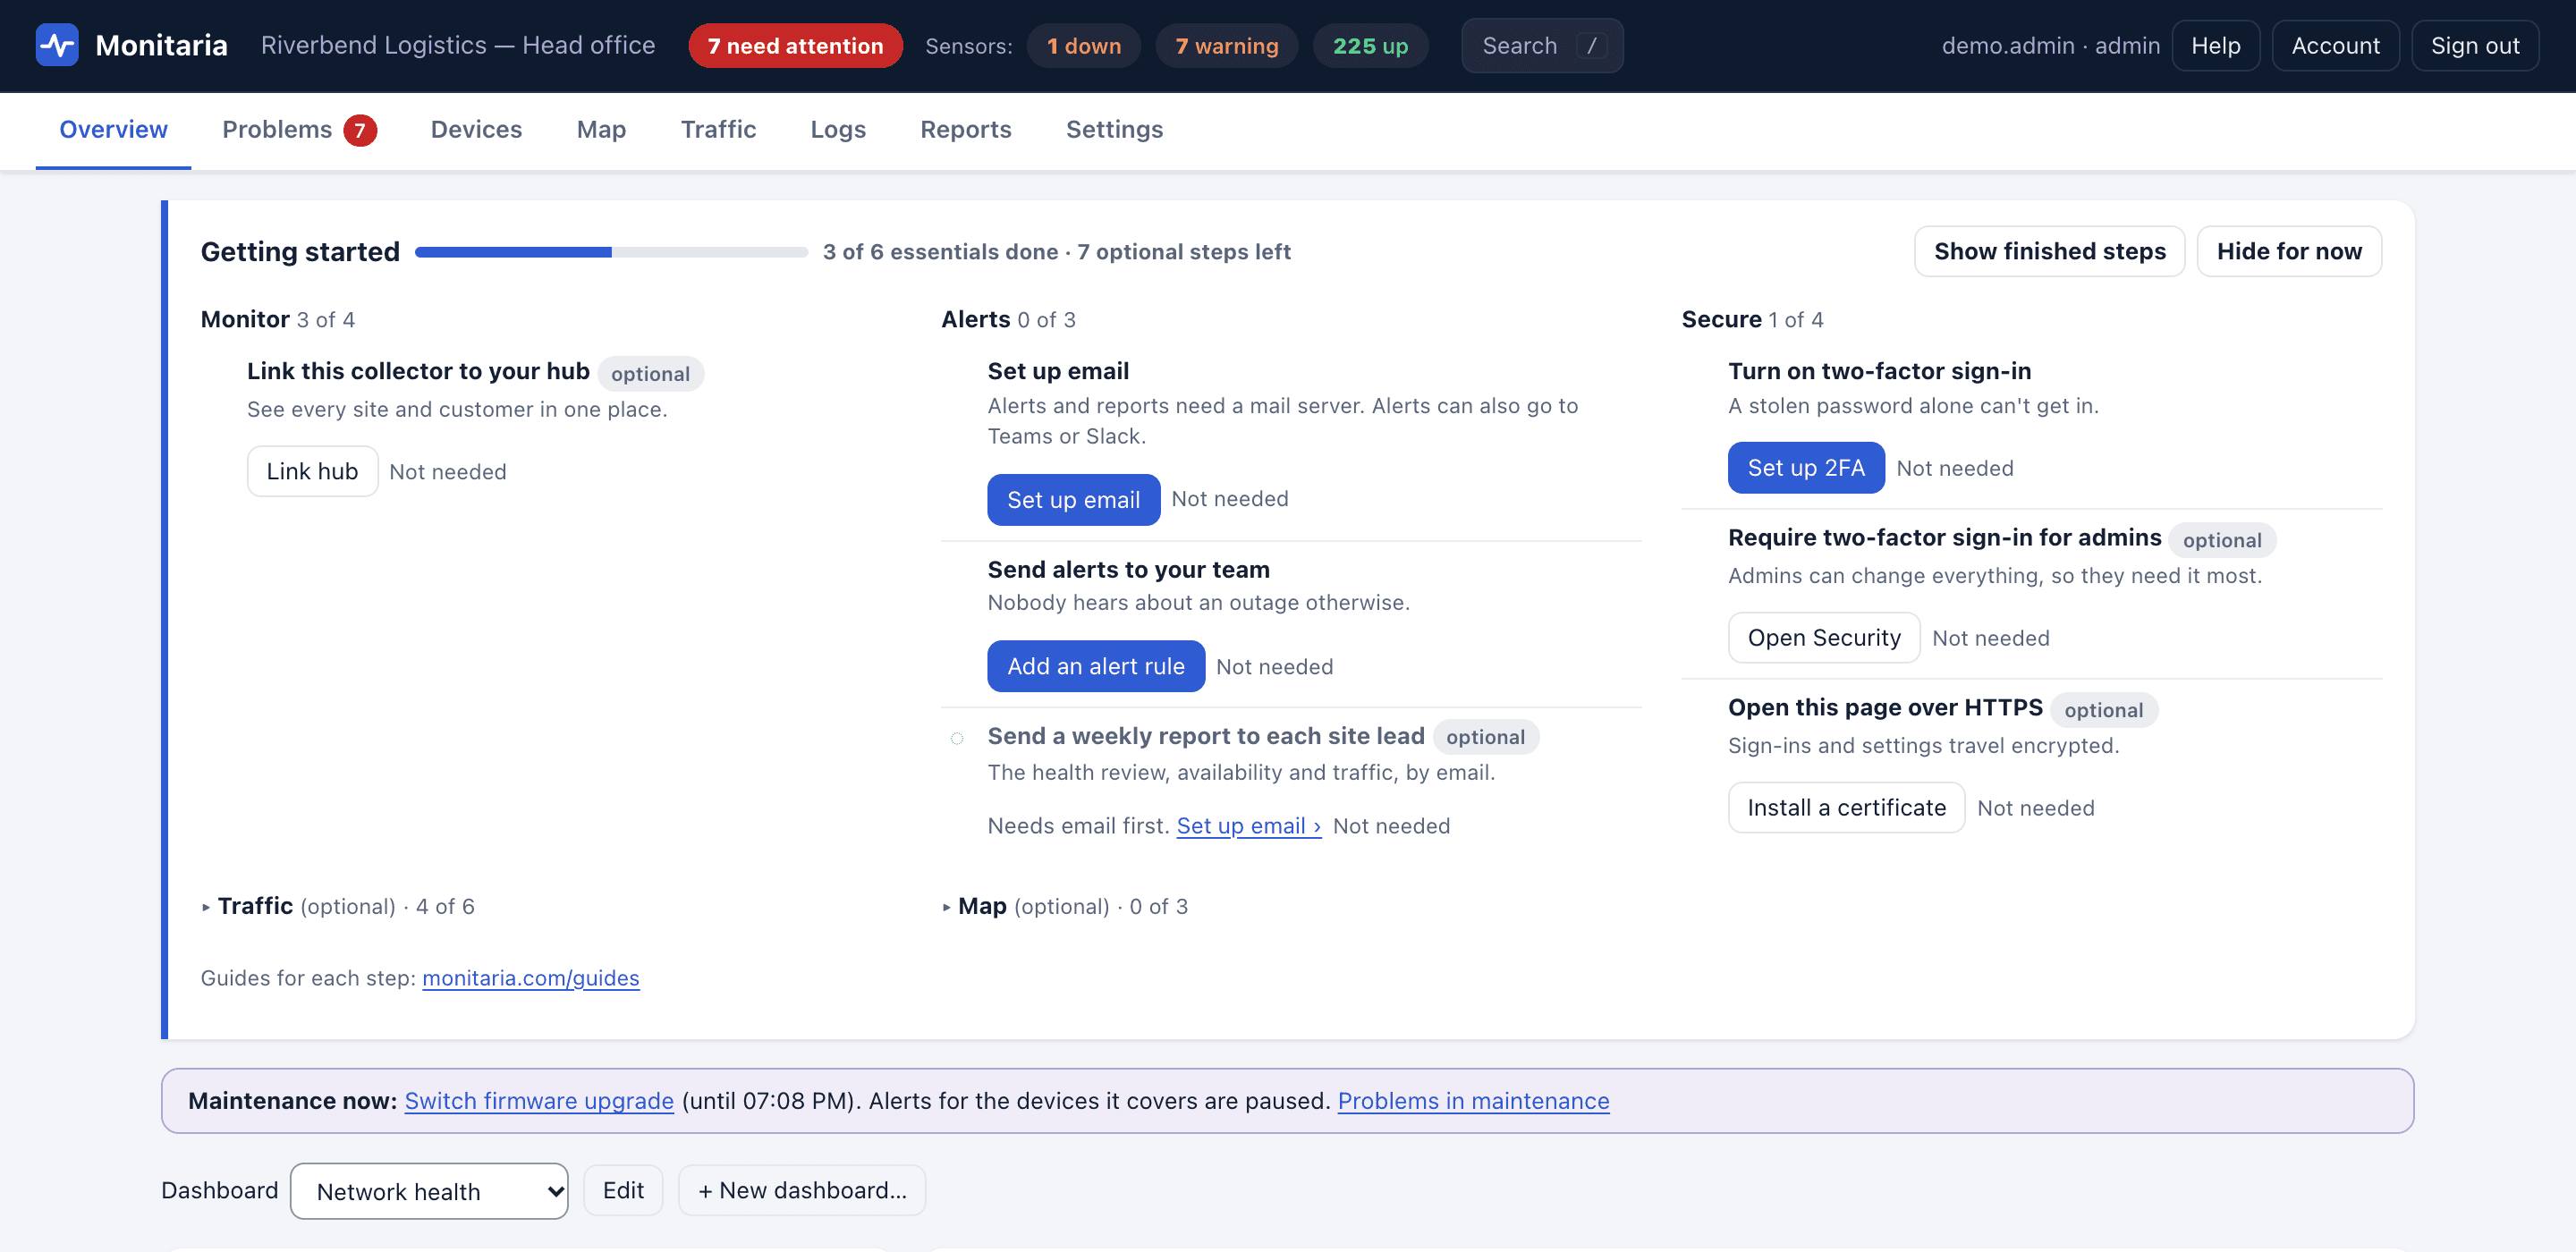
A new collector shows Getting started at the top of its Overview, for admins, until the essential steps are done. This guide walks through the same steps.
1. Import and start the VM
- Download the image for your hypervisor: OVA (VMware, VirtualBox), VHDX (Hyper-V) or qcow2 (Proxmox, KVM).
- Give it 2 vCPU, 2 GB RAM and 20 GB of disk, and connect it to the network you want to monitor.
- Start it. The console shows the address to open and a one-time setup code.
2. Create the first admin
Open the address in a browser, enter the setup code and choose a username and a password of at least 12 characters. The setup code makes sure only someone with console access can claim a new collector.
3. Turn on two-factor sign-in
New collectors require two-factor sign-in for admins. You're asked to set it up right after creating the account: scan the key into any authenticator app and enter the code it shows.
4. Let discovery find the network
The collector scans its own network on first start. Open Devices › Discovery to reach the networks behind the router, CDP/LLDP neighbors and other sites, then tick the devices to monitor.
5. Send alerts somewhere
In Settings › Alerts, add a rule that emails your team or posts to Teams or Slack. See the alerts guide for routing by device type and site.
6. Add your team
In Settings › Users, add people as viewers or operators and limit each to the devices they look after. See the access control guide.
7. Link the hub (optional)
If you look after several sites, add the site on the hub and paste its ID and secret into Settings › Hub link on the collector. The collector pushes status outbound; nothing connects in.
Tip: Install a certificate from your own CA in Settings › HTTPS certificate so browsers stop warning about the appliance's self-signed one.